Use the Image Manager
The Image Manager allows you to perform the following tasks:
- browse folders and files for images
- select multiple image files to insert
- preview images
- upload new images to the server
- generate thumbnails of the uploaded images
- delete image files
The Image Manager offers two ways of viewing files: Thumbnails View and Grid View (files display as a list).
The Image Manager button in the Rich Text Editor displays the standard landscape icon.

Inserting an Image
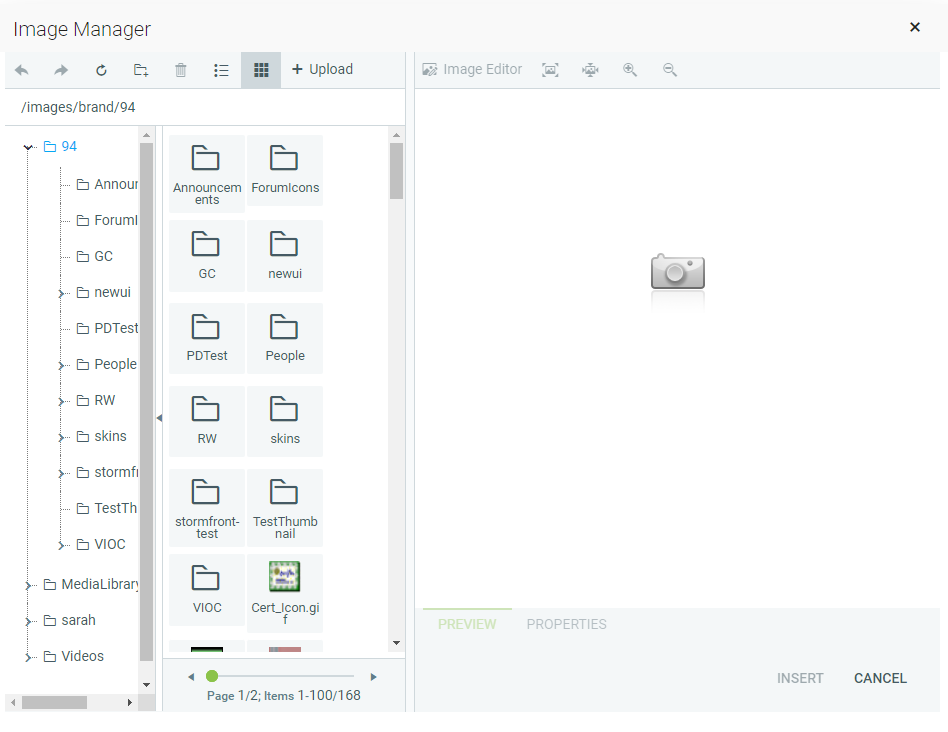
To add an image, position the cursor at the place where you need to insert the image and click the Image Manager button in the toolbar. The Image Manager window will open.
Navigate through the available files to locate the image you wish to add.
Locate the image file that you want to insert and click it once. A preview of the image appears in the right side of the dialog.
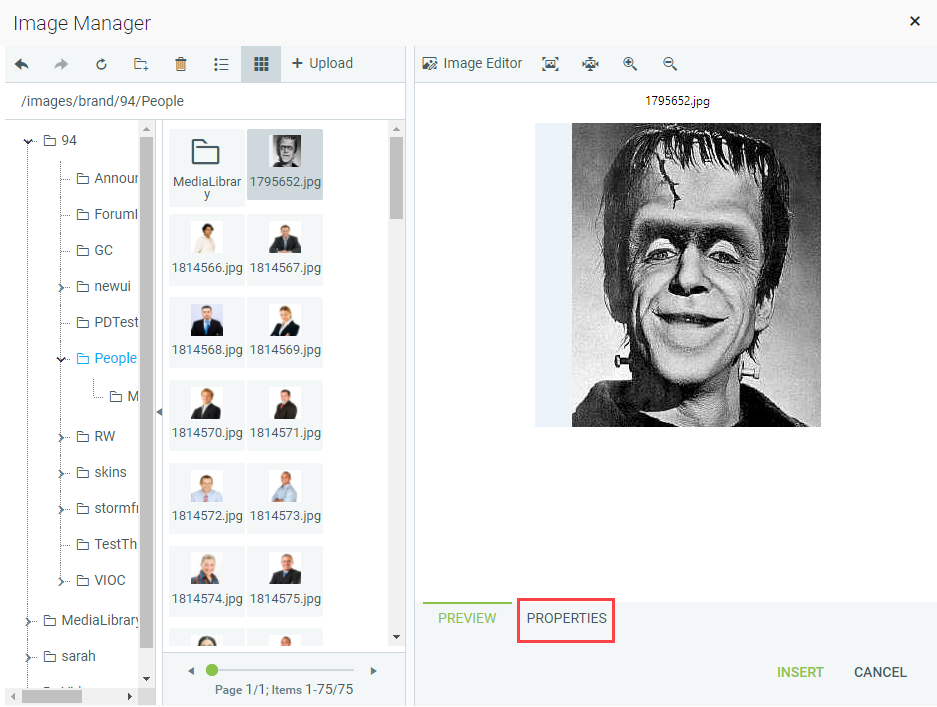
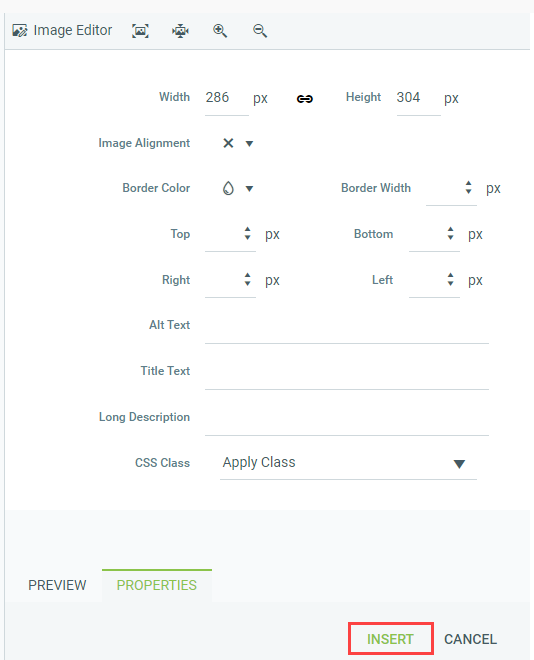
To set the image properties of the selected image, go to the Properties tab at the bottom of the right section. The Properties tab allows you to set the following image attributes:
- Width
- Specifies a custom width for the image (you can constrain the proportions to avoid distortion). The image is not resampled or modified, but rather displayed with the specified width.
- Height
- Specifies a custom height for the image (you can constrain the proportions to avoid distortion). The image is not resampled or modified, but rather displayed with the specified height.
- Image Alignment
- Specifies the alignment of the image, with respect to the adjacent text/images. When you choose left or right alignment, the text wraps around the image.
- Border Color
- Specifies the color of the image border.
- Border Width
- Specifies the width (thickness) of the image border. Select No Border to remove the border.
- Margin
- Specifies the margin (distance to the top, to the left, to the right, and to the bottom) between the image and the adjacent text/images.
- Alt Text
- Specifies the alternative text that is displayed in some cases instead of the image. This will most often be displayed as the "tool tip".
- Title Text
- Specifies a title for the image.
- Long Description
- This is an Accessibility option. The text entered in the Long Description field will be read by the Windows Narrator tool.
- CSS Class
- Specifies image CSS class and style. Only advanced users should use this property.
Click Insert to add the image when you are finished setting properties.
Uploading Images to the Server
You can also use the Image Manager dialog to upload new images from your computer to the web server.
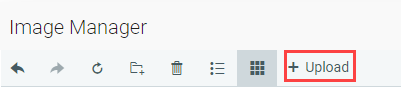
To upload new images on the server, open the Image Manager and navigate to the folder in which you want to upload the image.
Click the Upload button in the Manager's toolbar, navigate to the image on your computer, and upload it.
The new image will appear in the Image Manager.
Image Editor Dialog
The Image Manager includes an Image Editor, which provides the ability to print, crop, resize, zoom, control opacity, rotate, flip, and add text to an image. To access this editor select an image in the Image Manager, and click on the Image Editor button in the toolbar of the Preview panel.

Related Links
Copy Formatted Text
Use the Table Wizard
Use the Flash Manager
Use the Media Manager
Use the Document Manager
Use the Links Manager